Create a vendor
Click Add Vendor, enter the name, then fill in contact, address and terms like payment terms, lead time and minimum order value.
To add a supplier, go to Purchasing → Vendors and click Add Vendor. Only the vendor name is required; everything else can wait. Add it once and every future PO can reuse its details.
How do I add a vendor?
- Go to Purchasing → Vendors and click Add Vendor.
- Under Vendor Information, enter the Vendor Name (required), plus email, phone and website.
- Add a Primary Contact (name, email, phone) if you have a named rep.
- Fill in the Address fields.
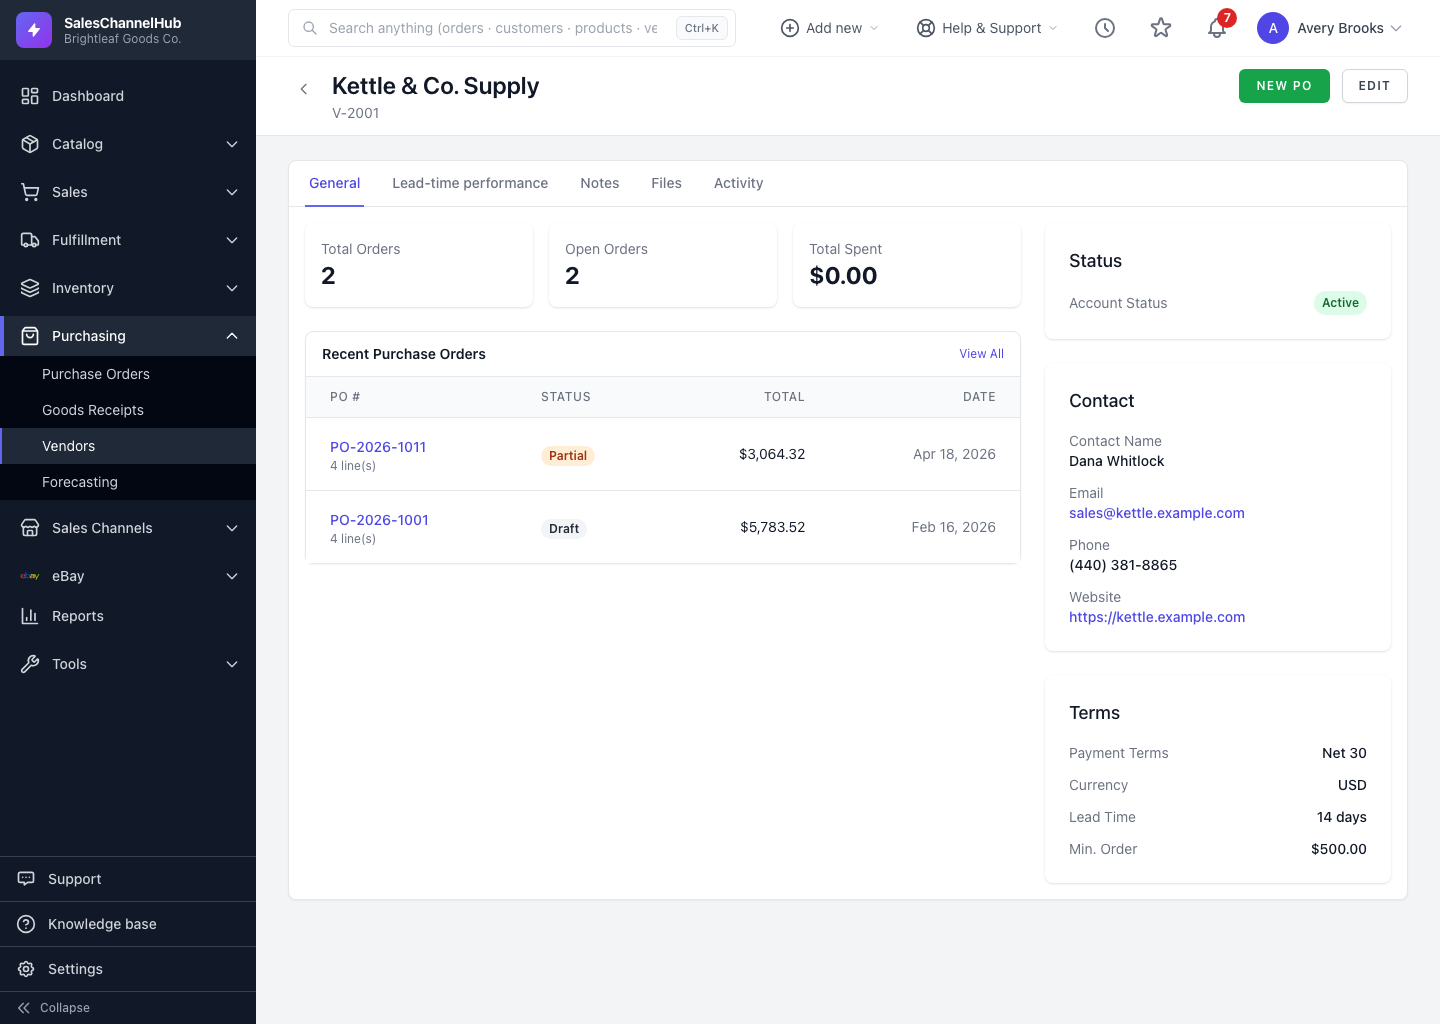
- Under Terms & Settings, set Payment Terms (Prepaid, Net 15, Net 30, Net 45 or Net 60), Currency, Lead Time (Days), Minimum Order Value, and a Tax ID / EIN or VAT number if relevant.
- Click Create Vendor.
Tip. The vendor number is generated for you, so there's nothing to invent. Lead time and minimum order value are optional, but worth setting now.
Common questions
Do I have to enter a vendor number?
No. New vendor numbers are generated automatically. Leave the field alone and the app assigns the next one.
Which fields are required to create a vendor?
Only Vendor Name. Contact, address and terms are all optional and can be filled in later by editing the vendor.
What payment terms can I set?
Prepaid, Net 15, Net 30, Net 45 or Net 60. The choice is for reference on the record; it doesn't trigger any payment processing.