Connect a shipping carrier
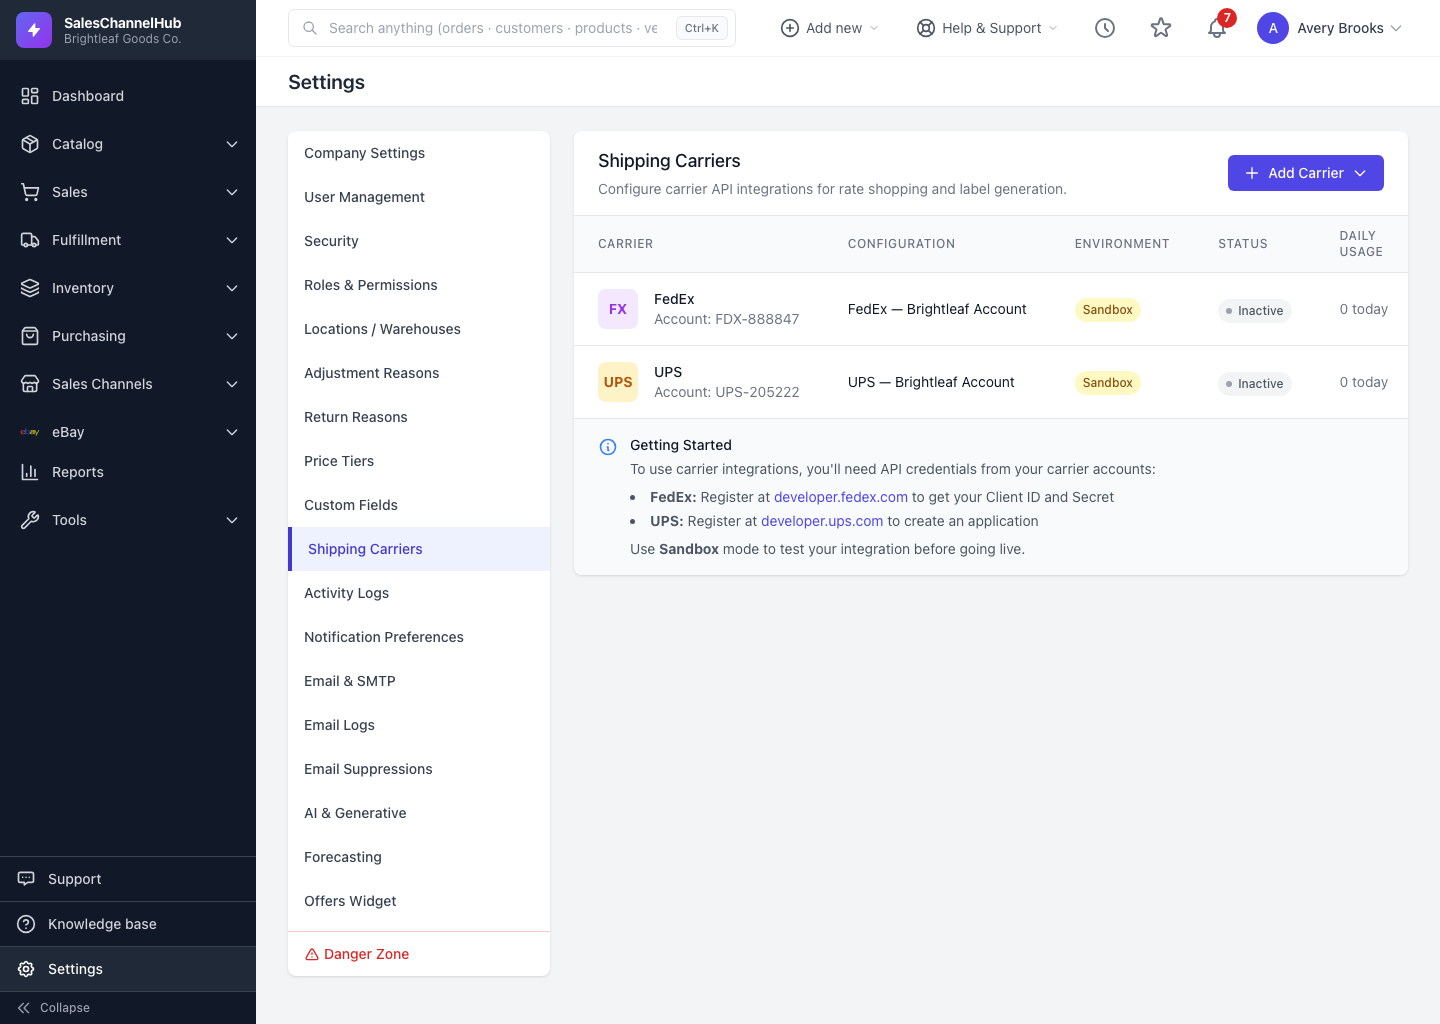
Add FedEx, UPS, USPS or the built-in test carrier under Settings → Shipping Carriers, enter the credentials, then test the connection.
Carrier configurations let the app rate-shop and print labels through your own carrier accounts. You add one configuration per carrier account.
How do I connect a carrier?
- Go to Settings → Shipping Carriers, click Add Carrier, and pick a carrier.
- Give the configuration a Configuration Name and enter the credentials: typically a Client ID and Client Secret, plus account numbers like Account Number, Meter Number, Shipper Number or Mailer ID.
- Choose a Default Label Format and a Default Ship From Location.
- Use Sandbox mode while testing, then switch to Production when ready.
- Save, then click Test Connection on the row to confirm the credentials work.
Tip. Add the built-in Test carrier first. It needs no credentials and returns mock labels with a MOCK- tracking number, so you can rehearse the full ship-and-notify flow before a real account is live.
Common questions
Which carriers can I connect?
FedEx, UPS and USPS, each through your own account credentials, plus a built-in Test carrier that needs no credentials and returns mock labels.
What's the difference between Sandbox and Production?
Sandbox uses the carrier's test environment, with no real shipments or charges. Switch to Production once your credentials are verified and you're ready to ship for real.
My Test Connection failed. What now?
Re-check the credentials on the configuration and that you're in the right environment. Sandbox keys won't work in Production, and vice versa.