Create a saved filter
Set up a bucket, store, tag and search, then save it under Filter By: Saved Filters to reuse the same view in one click.
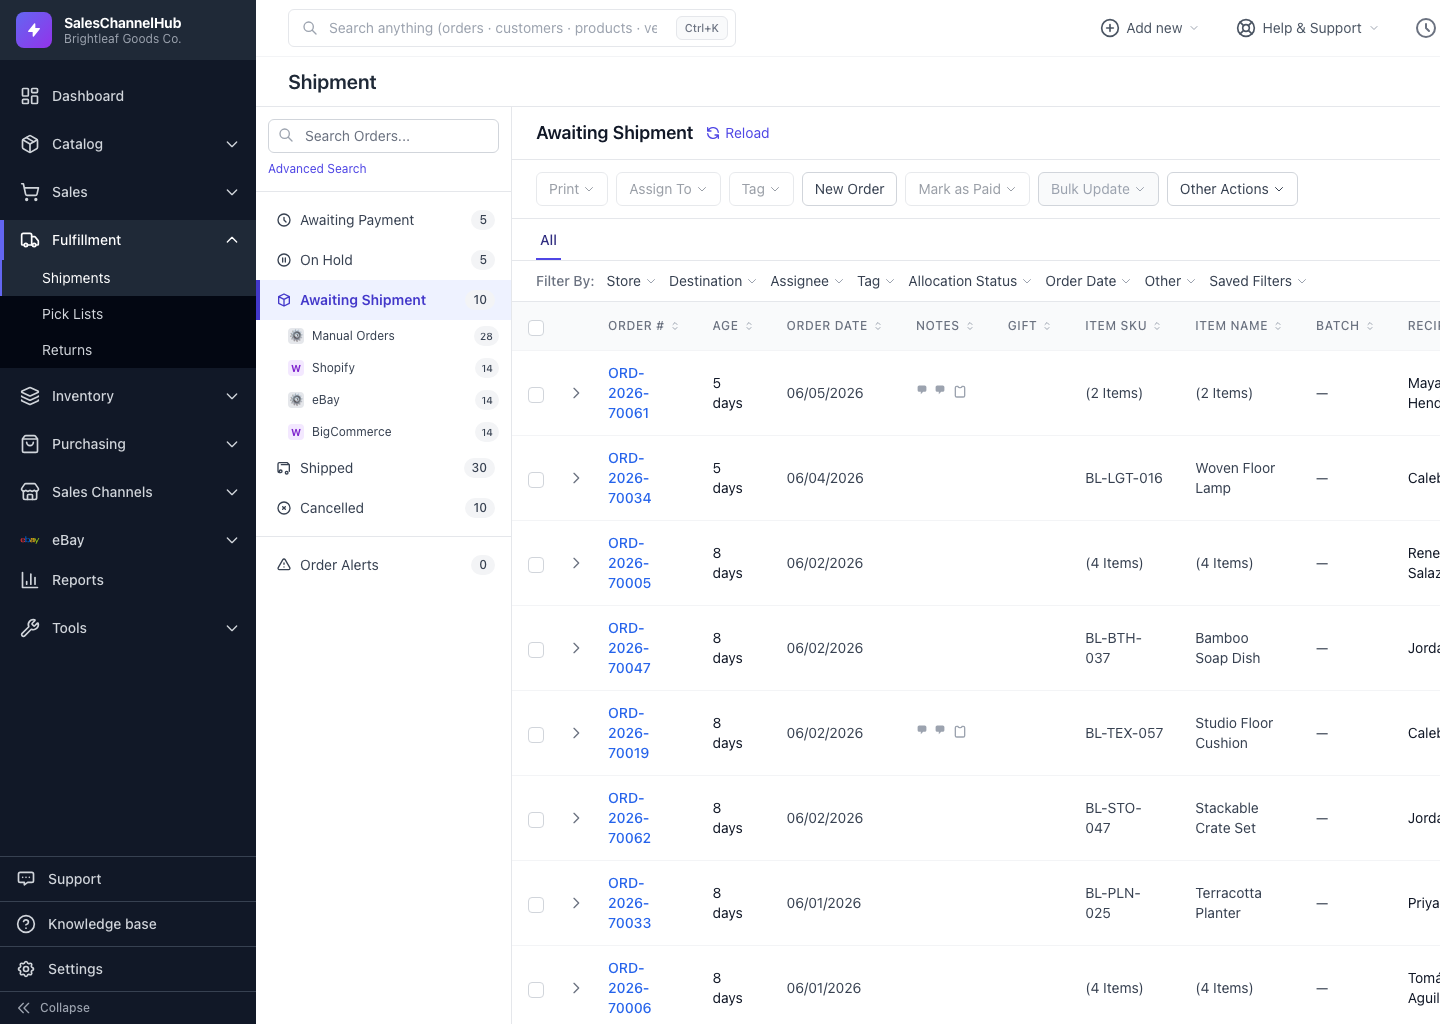
A saved filter jumps you straight to a slice of orders you check often, such as unpaid California orders or anything tagged Fragile. Saved filters live under Filter By: Saved Filters in the filter bar.
How do I save a filter?
- Set up the view: pick a status bucket, choose a Store or Tag, and type a Search Orders… term if you need one.
- Open Filter By: Saved Filters and click + Save Current Filter.
- In the Save Filter dialog, name it, for example Urgent unpaid CA.
- Click Save.
How do I apply or remove one?
Apply a saved filter any time from the same Saved Filters menu. An Active filter chip appears with a Clear link. To delete one, hover it in the list and click the ✕ that appears.
Tip. A saved filter captures the bucket, store, tag and search query together, so one click recreates the exact view you set up.
Was this article helpful?