Set up a shipping carrier
Connect FedEx, UPS or USPS under Settings → Shipping Carriers by adding API credentials and setting your defaults.
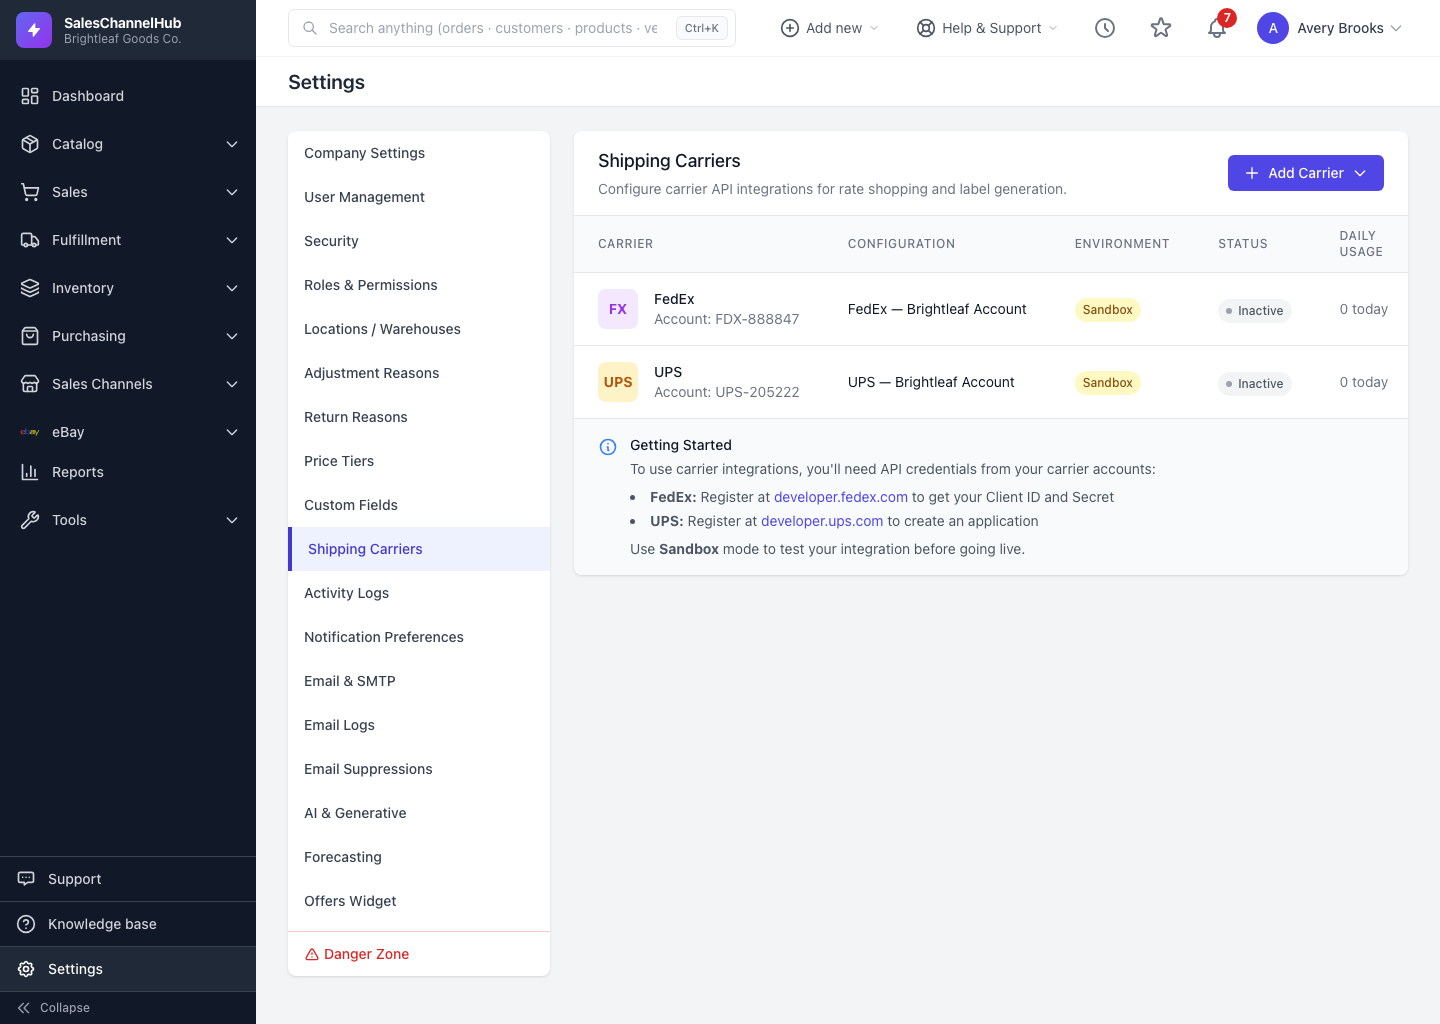
Before you can shop rates or buy real labels, connect at least one carrier. Carriers live under Settings → Shipping Carriers, where you add your account credentials and set defaults.
How do I add a carrier?
- Go to Settings → Shipping Carriers and click Add Carrier, then choose FedEx, UPS or USPS.
- Give it a Configuration Name and enter the API Credentials from the carrier's developer portal. FedEx and UPS use a Client ID, Client Secret and account number; USPS uses a Client ID, Client Secret and your EPS Customer Registration ID (CRID).
- Under Default Settings, pick a Default Label Format and a Default Ship From Location.
- Choose Sandbox Mode while testing, keep Active ticked, and optionally Set as Default.
- Save the carrier.
Tip. No real account yet? Add the built-in Test carrier. It needs no credentials and returns a mock tracking number, so you can rehearse rate shopping and labels end to end.
Common questions
Which carriers can I connect?
FedEx, UPS and USPS, plus a built-in Test carrier for rehearsing the flow with no credentials. Add each as its own configuration under Settings → Shipping Carriers.
What credentials do I need?
FedEx and UPS need a Client ID, Client Secret and account number from their developer portals. USPS needs a Client ID, Client Secret and your EPS Customer Registration ID (CRID).
What does Sandbox Mode do?
It points the carrier at its test environment so you can try rates and labels without live charges. Switch it off once you have approved production credentials.