Import vendors from a CSV
Click Import on the Vendors list, upload a CSV with a Name column, and the app creates suppliers, matching existing ones by vendor number then email.
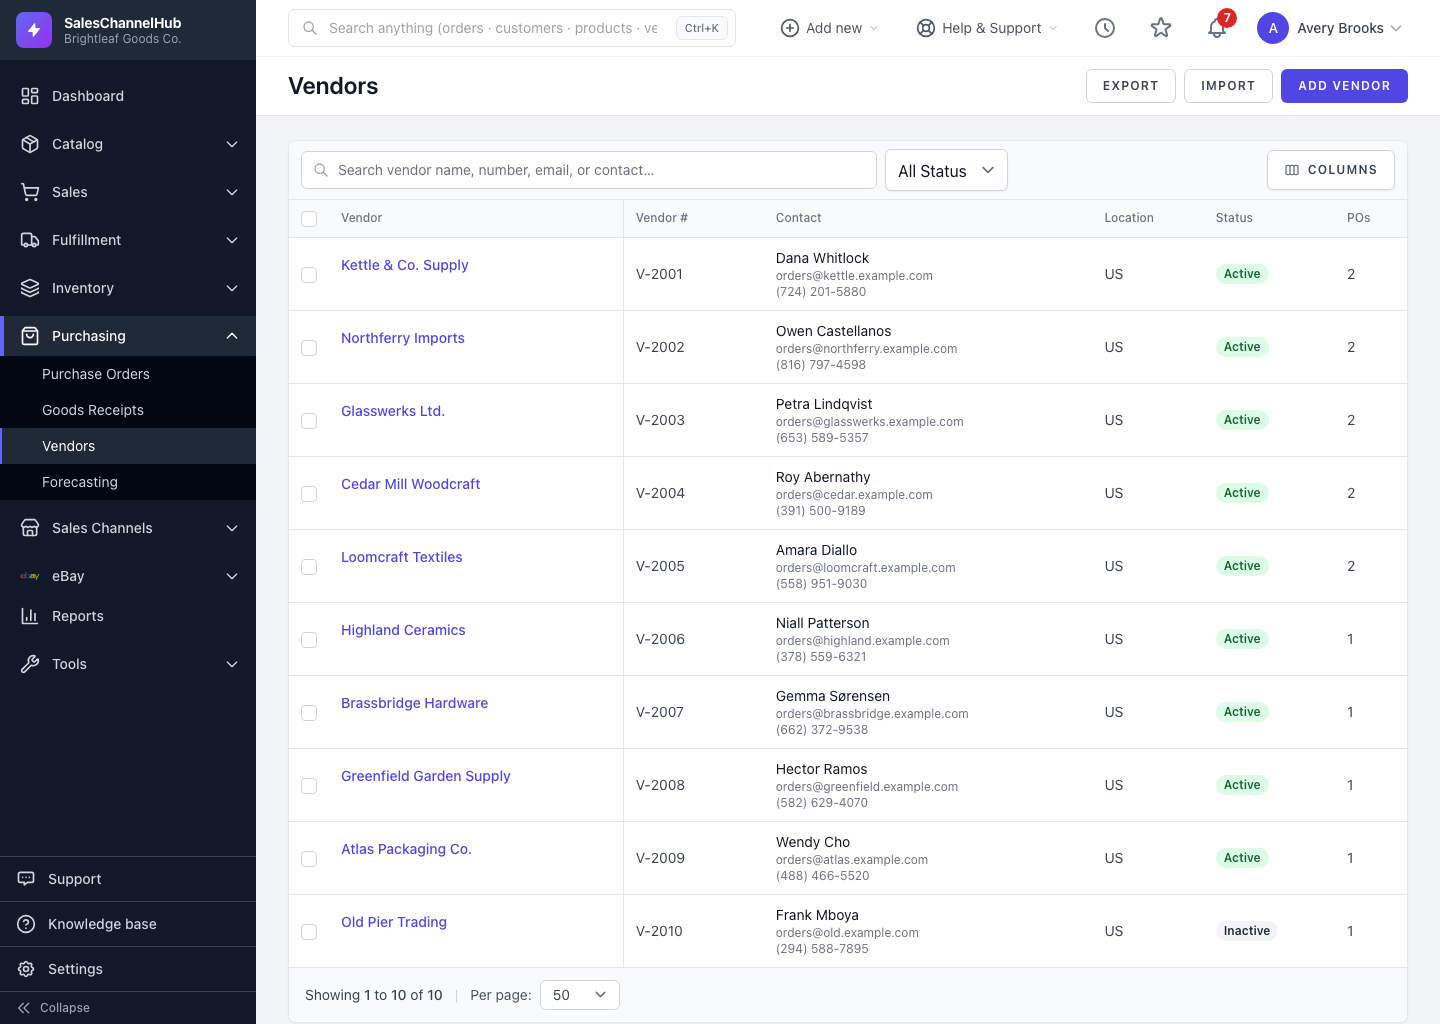
If you already keep suppliers in a spreadsheet, import them in one go. Go to Purchasing → Vendors and click Import. The importer matches on vendor number first, then email.
How do I import vendors?
- On the Vendors list, click Import.
- Click Download a blank CSV template, or export your existing vendors to start from real data.
- Fill in your rows. Only Name is required; other supported columns include vendor number, email, phone, address fields, payment terms, currency, lead time days, min order value, notes and active.
- Choose your file under Upload CSV File (max 10 MB).
- Leave Update existing vendors ticked to refresh matches, and Skip rows with errors ticked to import everything else.
- Click Import Vendors.
Tip. Leave the vendor number blank for brand-new suppliers and one is generated automatically. If rows fail, the result lists exactly which ones and why.
Common questions
How does the importer decide whether to create or update a vendor?
It matches on vendor number first, then email. A match updates that vendor when Update existing vendors is ticked; no match creates a new one with an auto-generated number.
Which columns are required in the CSV?
Only Name. Every other column is optional. Use the blank template so the headers line up with what the importer expects.
What happens to rows with errors?
With Skip rows with errors ticked, valid rows import and bad ones are skipped and listed back to you. The summary reports how many were created, updated and skipped.