Set up email and SMTP sending
On Settings → Email & SMTP, send notifications and customer emails from your own provider with a branded FROM address.
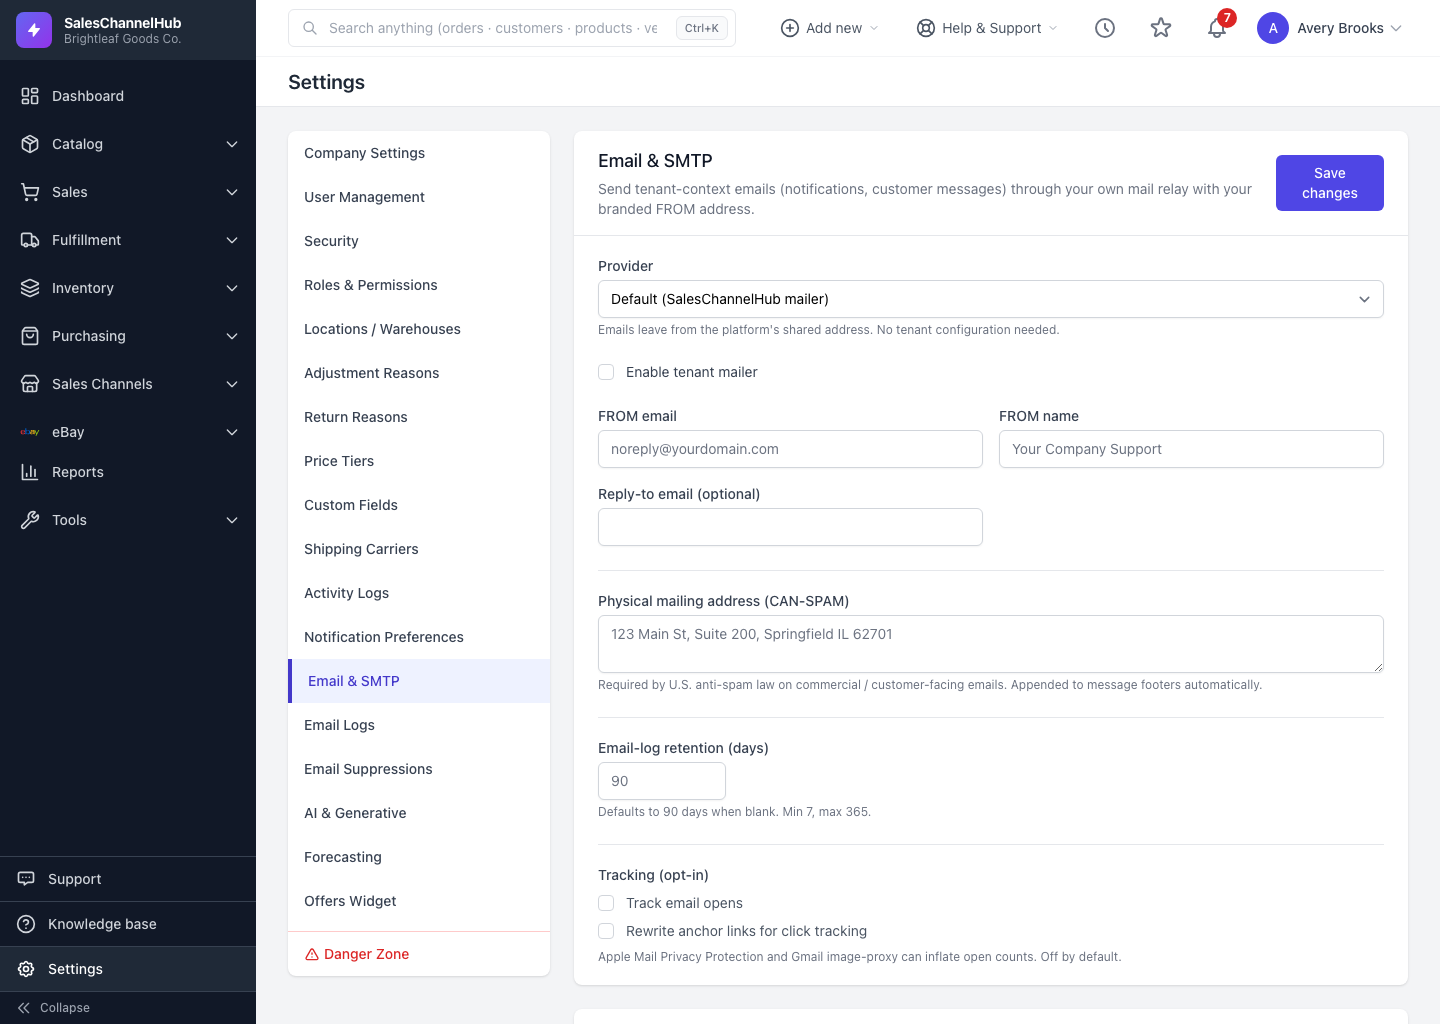
By default the app sends through a shared mailer. The Email & SMTP page lets you send from your own provider with your branded FROM address instead, which improves deliverability and trust.
How do I set up my own email sending?
- Go to Settings → Email & SMTP.
- Pick a Provider and tick Enable tenant mailer.
- Set your FROM email, FROM name, and an optional Reply-to email.
- Fill the provider-specific fields that appear, then add your Physical mailing address for anti-spam compliance.
- Click Save changes, then send a test email to confirm it works.
Tip. All secrets (passwords, API keys, tokens) are encrypted at rest. When editing later, leave the placeholder dots untouched to keep the stored secret, or type a new value to rotate it.
Common questions
Do I have to set up my own email?
No. Leave the tenant mailer off and the app sends through the shared mailer. Setting up your own provider mainly helps deliverability and lets emails come from your branded FROM address.
I left the secret field showing dots. Did I wipe my key?
No. The dots are a placeholder for the stored secret. Leaving them untouched keeps the existing value; only typing a new value replaces it.